We have had a spectacularly long fall! The leaves have been so vibrant and have stayed on the trees much longer than usual. I took this picture this morning and right now the wind has come up and the majority of them are now on the ground. Timing is everything.
I've been doing some garment sewing. To use up the shorter lengths of tshirt fabric in the fabric stash, I've been sewing tshirts for the Grandkids. I've made 6 so far. Here are the latest 3:
Last year, the 4 year old used to through his hands in the air and say
"It's a MYSTERY!" whenever he didn't know something. Too funny.
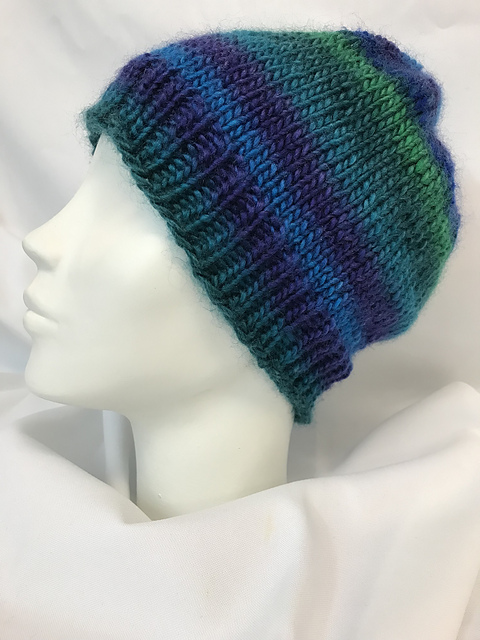
Still working on Project Linus blankets.
Yarn: Caron Simply Soft; 945 yardsNeedles: US size 8
Size: 30x36"
Pattern: Sunny Blanket by Lucie Sinkler (from Ravelry.com)
Size: 30x36"
I really like this pattern. I must since I've made 7 of them!
Do you listen to audiobooks? I do when I'm sewing or doing something
boring. I recently finished "Where The Crawdads Sing". Here is the
blurb from Goodreads:
For
years, rumors of the "Marsh Girl" haunted Barkley Cove, a quiet fishing
village. Kya Clark is barefoot and wild; unfit for polite society. So
in late 1969, when the popular Chase Andrews is found dead, locals
immediately suspect her.
But Kya is not what they say. A born
naturalist with just one day of school, she takes life's lessons from
the land, learning the real ways of the world from the dishonest signals
of fireflies. But while she has the skills to live in solitude forever,
the time comes when she yearns to be touched and loved. Drawn to two
young men from town, who are each intrigued by her wild beauty, Kya
opens herself to a new and startling world—until the unthinkable
happens.
In Where the Crawdads Sing, Owens juxtaposes an
exquisite ode to the natural world against a profound coming of age
story and haunting mystery. Thought-provoking, wise, and deeply moving,
Owens’s debut novel reminds us that we are forever shaped by the child
within us, while also subject to the beautiful and violent secrets that
nature keeps.
The story asks how isolation influences the
behavior of a young woman, who like all of us, has the genetic
propensity to belong to a group. The clues to the mystery are brushed
into the lush habitat and natural histories of its wild creatures.
Me: What a good book!